How do I install an Oil Seal in 7 simple steps.
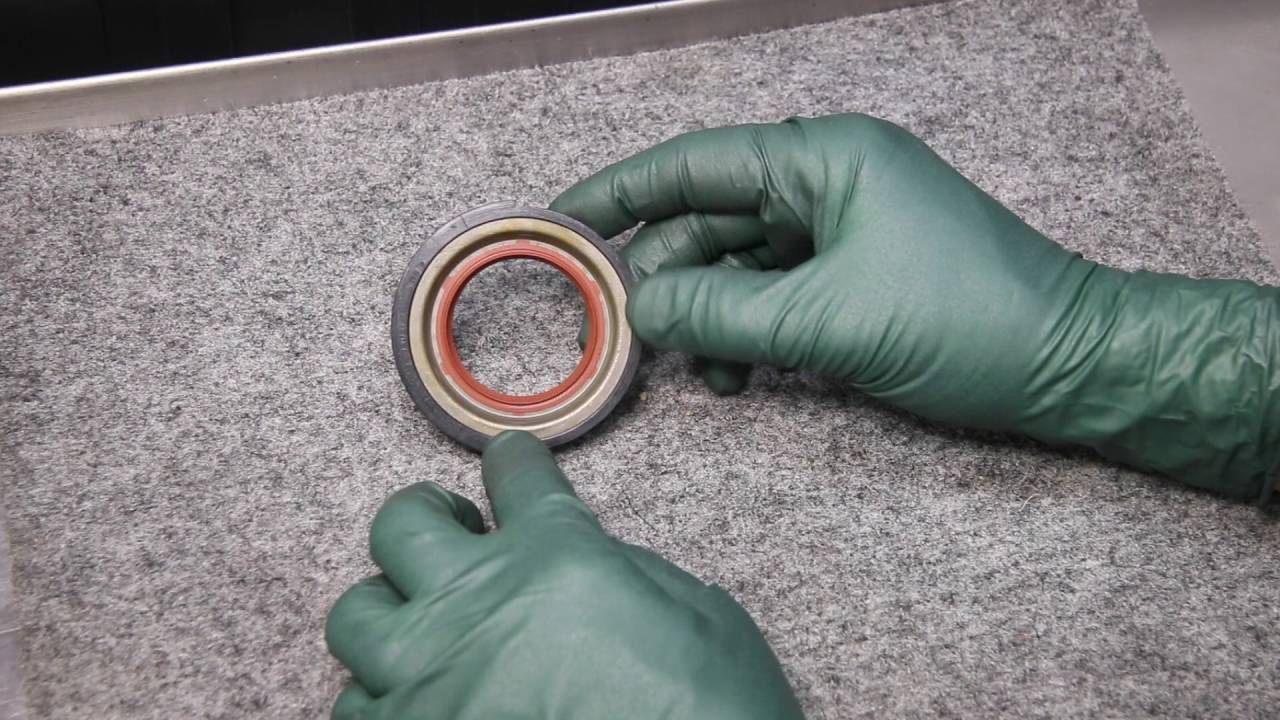
Oil seals, also known as rotary shaft seals, are designed to prevent oil leaks in rotating machinery by sealing the gap between a rotating shaft and a stationary housing. Proper installation of oil seals is essential to ensure a leak-free performance, which in turn helps to extend the life of the machinery. In this article, we will go over the steps for installing oil seals correctly.
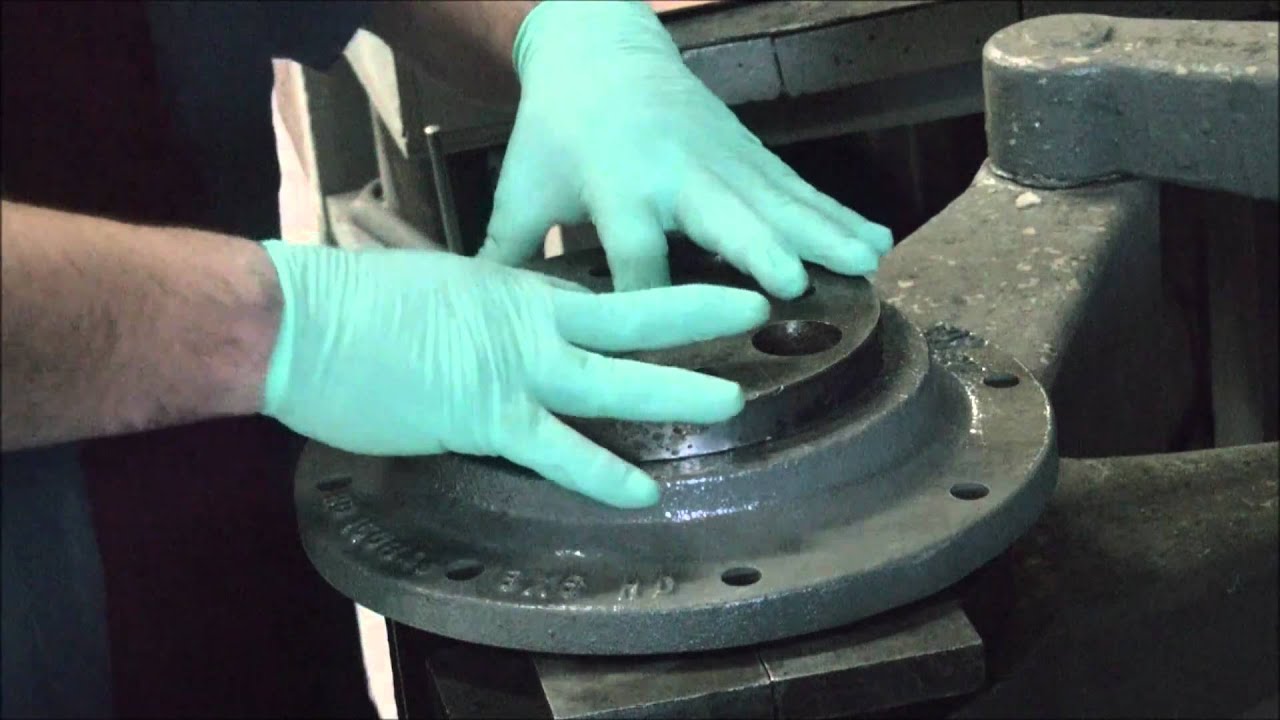
The first step in installing oil seals is to clean the surface where they will be placed. Dirt, debris, and other contaminants can cause the oil seal to become damaged or misshapen, leading to leaks. Clean the surface with a solvent or soap and water, and make sure it is completely dry before installing the oil seal.
Before you start installing oil seals, you need to choose the right size and type of oil seal for your application. Oil seals come in a variety of sizes and materials, so it's important to choose the right one for your needs. Consider factors such as temperature, pressure, and fluid compatibility when choosing an oil seal.
Before installing the oil seal, it is important to lubricate it to reduce friction and prevent damage during installation. A silicone-based lubricant is recommended for most applications. If the oil seal is to be installed in a high-temperature or high-pressure environment, a more specialized lubricant may be required.
After the oil seal is positioned in the groove, apply even pressure to the oil seal using a seal driver or a similar tool. This will help to seat the oil seal firmly in the groove and prevent it from moving during use. Make sure to apply the pressure evenly and gently, as applying too much force can damage the oil seal or cause it to deform.
After the oil seal is positioned in the groove, apply even pressure to the oil seal using a seal driver or a similar tool. This will help to seat the oil seal firmly in the groove and prevent it from moving during use. Make sure to apply the pressure evenly and gently, as applying too much force can damage the oil seal or cause it to deform.
After the oil seal has been installed, check for leaks. You can do this by applying pressure to the system and observing for any signs of a leak, such as fluid escaping from the area where the oil seal is installed. If a leak is present, you may need to remove the oil seal and start the installation process again.
Repeat the process of installing oil seals for any other locations where they are required. Be sure to follow the same steps for each installation to ensure a leak-free performance.
In conclusion, installing oil seals correctly is an important step in maintaining the performance and efficiency of rotating machinery. By following these steps, you can ensure that your oil seals are installed correctly and will provide a leak-free performance. If you have any questions or concerns about installing oil seals, consult with a professional or refer to the manufacturer's instructions. Proper installation of oil seals can help to extend the life of your machinery, reduce the risk of leaks, and ensure a safe and efficient operation.
Do you have further questions about Oil Seals? Feel free to contact us!!